Monday, April 21, 2014

Turtle Cheesecake


     I was asked to make a dessert of some sort for a particularly picky eater.  What I really wanted to make were brownie cupcakes with mint frosting.  He doesn't like mint.  Then I thought of dark chocolate cupcakes with strawberry frosting.  He doesn't like frosting...weird I know.  I found a really yummy looking coconut caramel cookie recipe that I've been dying to try.  He doesn't like coconut.  Cue the turtle cheesecake.  Caramel?  Check.  Chocolate?  Check.  Cheesecake?  Check.  Whew.
     The recipe I found the other day sounded like it'd be really good.  I did tweak it a bit, but I'll put the original recipe and instructions on here with my changes.

Ingredients:

24 Oreos, finely crushed (about 2 cups)
6 Tbsp oleo, melted
1 pkg (14oz) caramels
1/2 cup milk
1 cup chopped pecans  *I skipped these...picky eaters :)*
3 pkg (8oz each) cream cheese, softened
3/4 cup sugar
1 Tbsp vanilla
3 eggs
2 oz Baker's semi-sweet chocolate


     Heat your oven to 325°.  Reduce the temperature to 300° if using a dark pan.
     Mix crushed Oreos and melted oleo.  Press mixture into the bottom of a 9 inch springform pan and up 2 inches of the side.  *I just put the Oreo mixture on the bottom of the pan.  Mistake.  Put it up the sides or the caramel will leak out and burn on the bottom of your oven....for a couple of days if you forget to clean it.  Whoops*
     Microwave caramels and milk on high for 3 minutes or until caramels are completely melted.  Stir after each minute.  Stir in pecans.  *I skipped these.*  Pour half of mixture onto Oreo crust.  * I poured some onto the crust and then swirled the rest of the half into the cheesecake batter.*  Refrigerate for 10 minutes.  Refrigerate remaining caramel mixture so you can use it later.
     Beat cream cheese, sugar, and vanilla in a large bowl until well blended.  Add eggs, one at a time, mixing on low after each until just blended.  Pour over caramel layer in crust.
     Bake for 1 hour and 5 minutes, or until center is almost set.  *Mine baked for about 1 hour and 12 minutes.*  Run a knife around the edge to loosen cheesecake.  Cool before removing the rim.  Refrigerate 4 hours.
     Microwave reserved caramel mixture 1 min, stir.  Drizzle over cheesecake.  Melt chocolate as directed on package.  Drizzle over cheesecake.  Refrigerate for 30 minutes.  *Or if you're like me, sleep in because you set your alarm for PM not AM, run to the kitchen, dump the caramel on the cheesecake and spread with a spoon very quickly, microwave chocolate while trying to get ready to leave the house, pour into a bag with the corner cut out, drizzle chocolate on cheesecake while getting it all over your hands, and run out the door to your truck.  But don't speed, cuz that'd be bad ;)*

Looks pretty yummy to me :)

     This was delicious.  Caramel, chocolate, and cheesecake. Sooooo good.  Mmmm.  A bit messy, probably because I was rushed and didn't refrigerate the cheesecake after pouring caramel on it, but delicious none the less.  Enjoy!


Happy baking friends!
     -Katie


Sunday, April 20, 2014

The Perfect Baked Potato


     Okay so I don't really have a recipe for this, but it's super simple so it totally doesn't need one.  First, preheat your oven to 425°.  Next, scrub your potatoes really well...nobody wants to eat dirt.  Now get all the frustration out that you may have stored up this week by stabbing the potatoes with a knife.  Make sure the holes are pretty deep.
     Get out some olive oil, garlic powder, salt, pepper, and a jelly roll pan.  Pour a *little* bit of olive oil on each potato.  Sprinkle with garlic powder, salt, and pepper.  Rub into the potato to coat the entire thing.  Hope ya don't mind getting your hands dirty ;)


     Place each of the potatoes on your jelly roll pan.  No need to grease it, you've already got plenty of olive oil on the spuds.


     Bake for 45 to 60 minutes.  No specific baking time, it depends on the size of the potatoes.  If you have ginormous ones, it'll take a little longer.  Just bake them until they are tender inside.  I always check them by poking them with a butter knife.  If it goes in easily, they're usually good!


     Yum yum yum!  They have a perfectly crisped skin and nice tender insides.  Delicious :)


Happy cooking friends!
     -Katie


Monday, April 7, 2014

Mr. Potato Head Quiet Book Page


     When I was a kid, I loved Mr. Potato Head.  I thought up endless ways to create my own potato person and kept myself entertained for ages.  So I thought, why not make a quiet book version?  I made my patterns and set to work :)
     First step, trace pattern pieces on newspaper.


     Next I cut out the pattern pieces and grabbed lots of felt.


     Then I cut my background piece of felt down to the size I wanted it like I did with my other pages ( Football Page Long-neck Dinosaur Page and the Matching Game Page).


     I pinned down the potato piece and the arm pieces to my background piece and sewed them down.


     Now the page itself is done and all that's left is to customize your Potato Head :)


     I also made girl pieces like a flower for her head, a purse, heels, etc.  I forgot to take a picture though before I gave it to its new owner.  Whoops.  You can make as many pieces as you want for lots and lots of options :)  That's all there is to it, super simple!


Happy sewing friends!
     -Katie


Saturday, March 29, 2014

Broccoli Cheese Soup


     Thanks to this weird, freakish weather we've been having in Michigan, it's been nice and chilly around here.  When I'm cold, nothing sounds better than soup.  And EVERYTHING is better with cheese, so I bring you broccoli cheese soup! :)  And boy is it yummy!

Ingredients:

1 Tbsp olive oil
1 cup chopped onion
2 garlic cloves, minced (or if you're lazy like me, 1 1/2 tsp garlic powder)
3 cups chicken broth
1 (16oz) pkg broccoli florets
2 1/2 cups milk
1/3 cup flour
1/4 tsp black pepper
8 oz Velveeta, cubed

     First, what you want to do is chop up your onion and garlic (if you chose cloves of garlic).  I did mine pretty small, but if you don't mind chunks of onion in your soup, you can do them a little bigger.


     Now heat a large saucepan with the olive oil in it over medium heat.  Add onion and garlic (only if you used garlic cloves, if you used powder, wait).  Sauté for about 3 minutes or until onion is tender.  The onion will be see-through when it's done.


     Add chicken broth, garlic powder (only if you didn't use whole cloves) and broccoli.  I had some huge pieces of broccoli in my bag, so I chopped them a bit smaller.  Again, if you don't mind large chunks in your soup, skip the extra chopping.  Bring your mixture to a boil over medium-high heat.  Reduce heat to medium and cook for 10 minutes, stirring occasionally.


     Combine milk and flour, stirring with a whisk until well blended.  Actually use a whisk, a spoon won't cut it!  Add milk mixture to broccoli mixture.  Cook 5 minutes or until slightly thick, stirring constantly.  Getting an arm workout in woot woot! :)


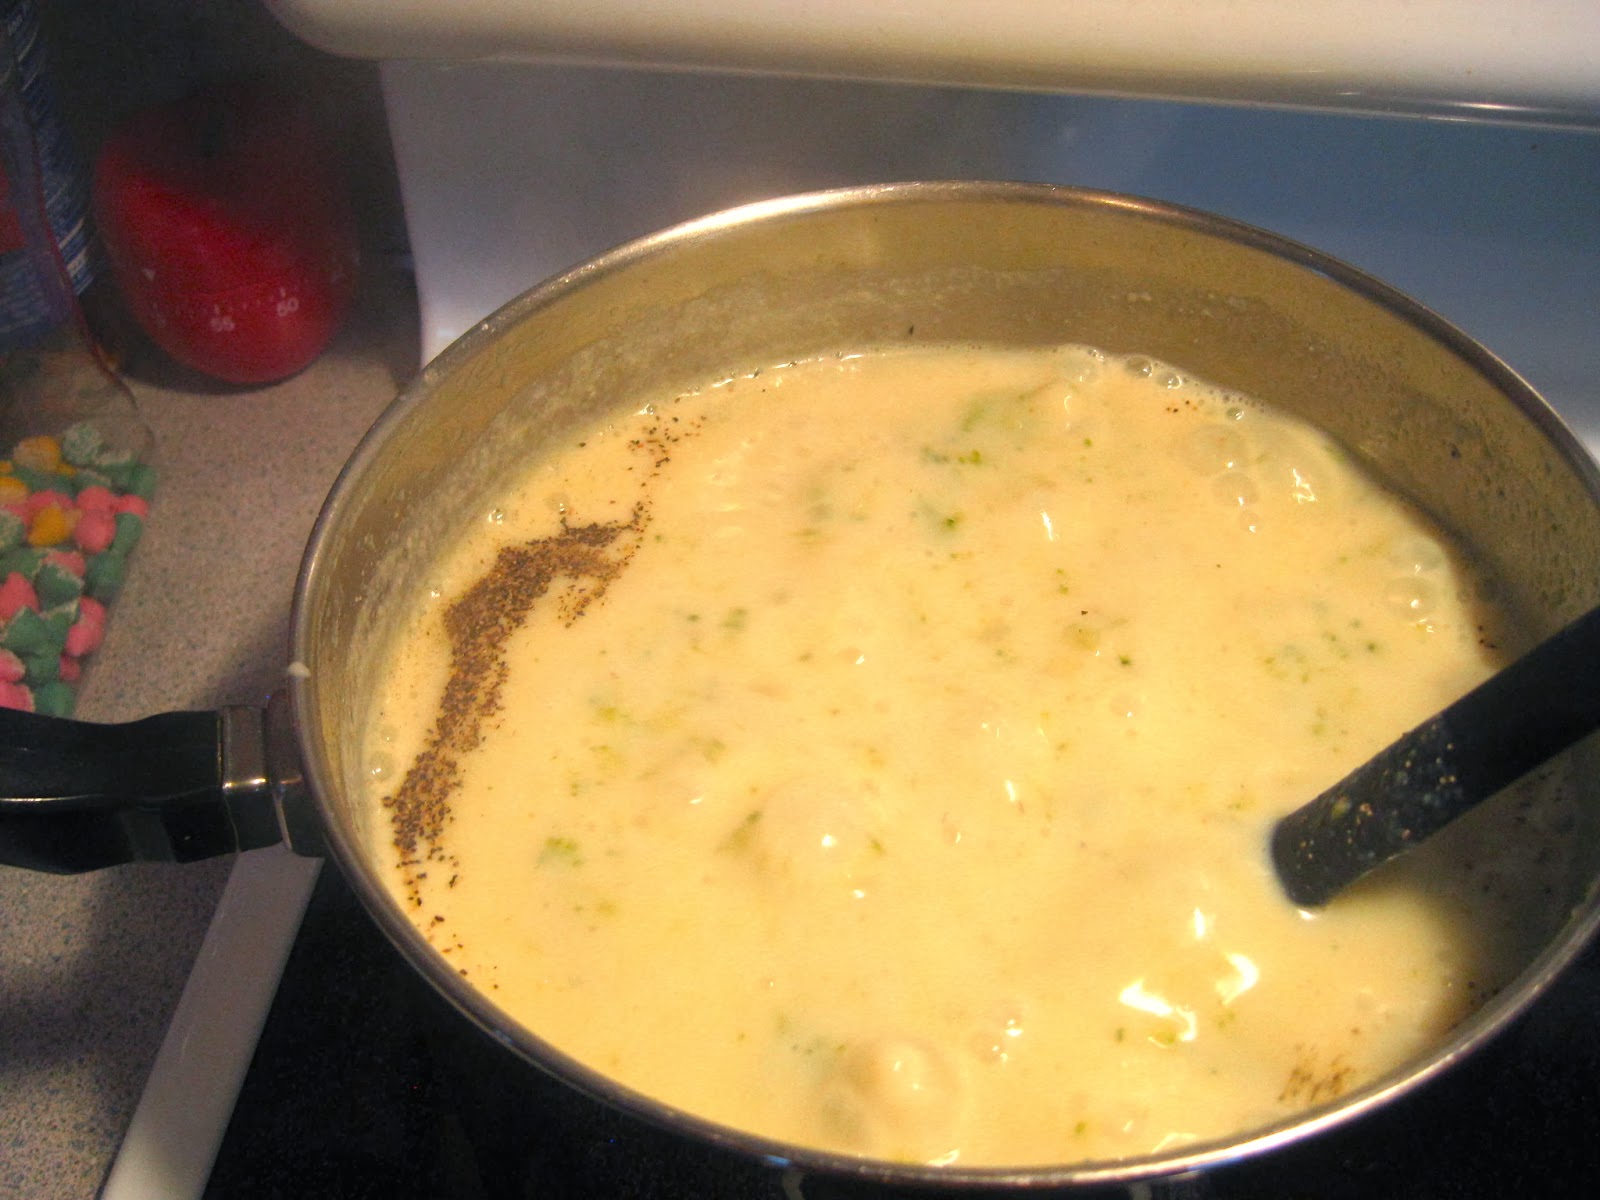
     Stir in pepper.  Remove from heat and add cheese cubes, stirring until cheese melts.  I switched stirring arms at this point, gotta work them both out!! ;)


not sure why this looks so weirdly colored, it's really not...
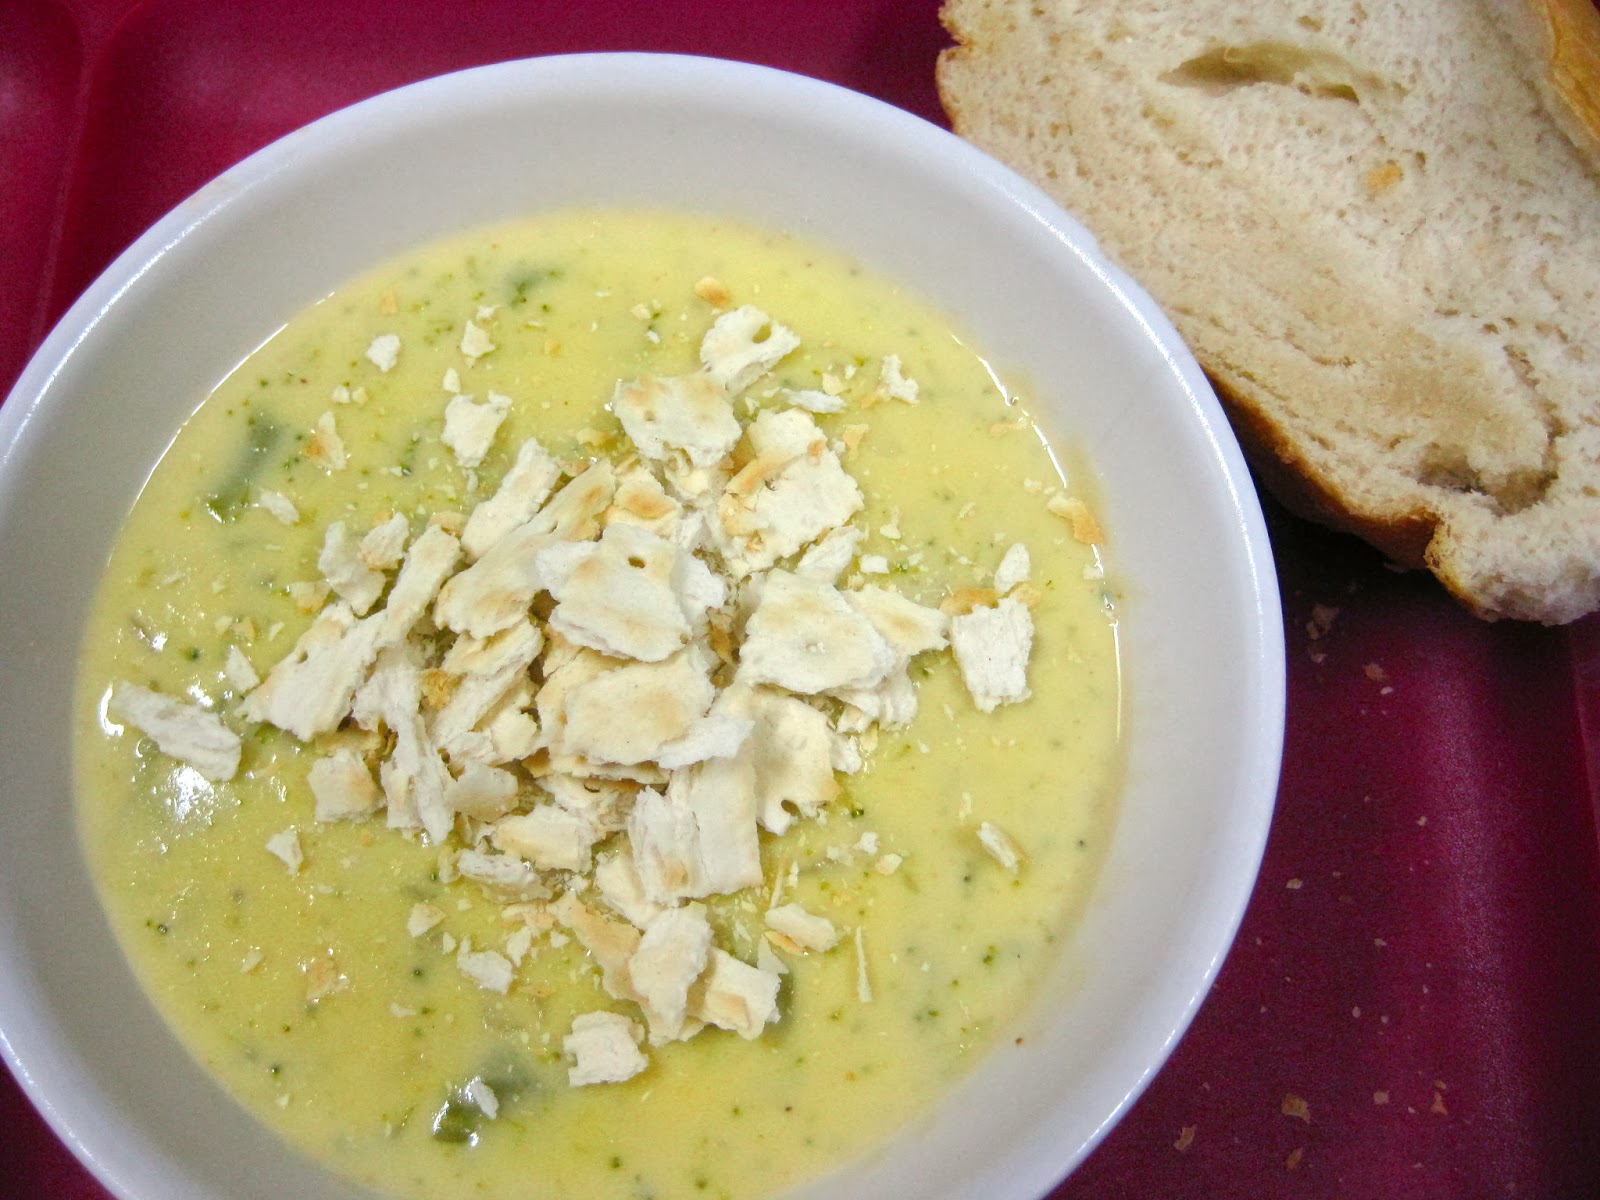
     Look at that cheesy goodness!! Yum :)  I love cheese, love it.  This soup is delicious. D. E. Licious.  Really.  I served mine with homemade bread, because as my great-grandma would say, "a meal's not complete unless there is bread and butter".  Mmmmm.

don't mind the squished down pieces...my 22 year old brother is a child


     I hope you enjoy!!!


Happy cooking friends!
     -Katie