Saturday, March 29, 2014

Broccoli Cheese Soup


     Thanks to this weird, freakish weather we've been having in Michigan, it's been nice and chilly around here.  When I'm cold, nothing sounds better than soup.  And EVERYTHING is better with cheese, so I bring you broccoli cheese soup! :)  And boy is it yummy!

Ingredients:

1 Tbsp olive oil
1 cup chopped onion
2 garlic cloves, minced (or if you're lazy like me, 1 1/2 tsp garlic powder)
3 cups chicken broth
1 (16oz) pkg broccoli florets
2 1/2 cups milk
1/3 cup flour
1/4 tsp black pepper
8 oz Velveeta, cubed

     First, what you want to do is chop up your onion and garlic (if you chose cloves of garlic).  I did mine pretty small, but if you don't mind chunks of onion in your soup, you can do them a little bigger.


     Now heat a large saucepan with the olive oil in it over medium heat.  Add onion and garlic (only if you used garlic cloves, if you used powder, wait).  Sauté for about 3 minutes or until onion is tender.  The onion will be see-through when it's done.


     Add chicken broth, garlic powder (only if you didn't use whole cloves) and broccoli.  I had some huge pieces of broccoli in my bag, so I chopped them a bit smaller.  Again, if you don't mind large chunks in your soup, skip the extra chopping.  Bring your mixture to a boil over medium-high heat.  Reduce heat to medium and cook for 10 minutes, stirring occasionally.


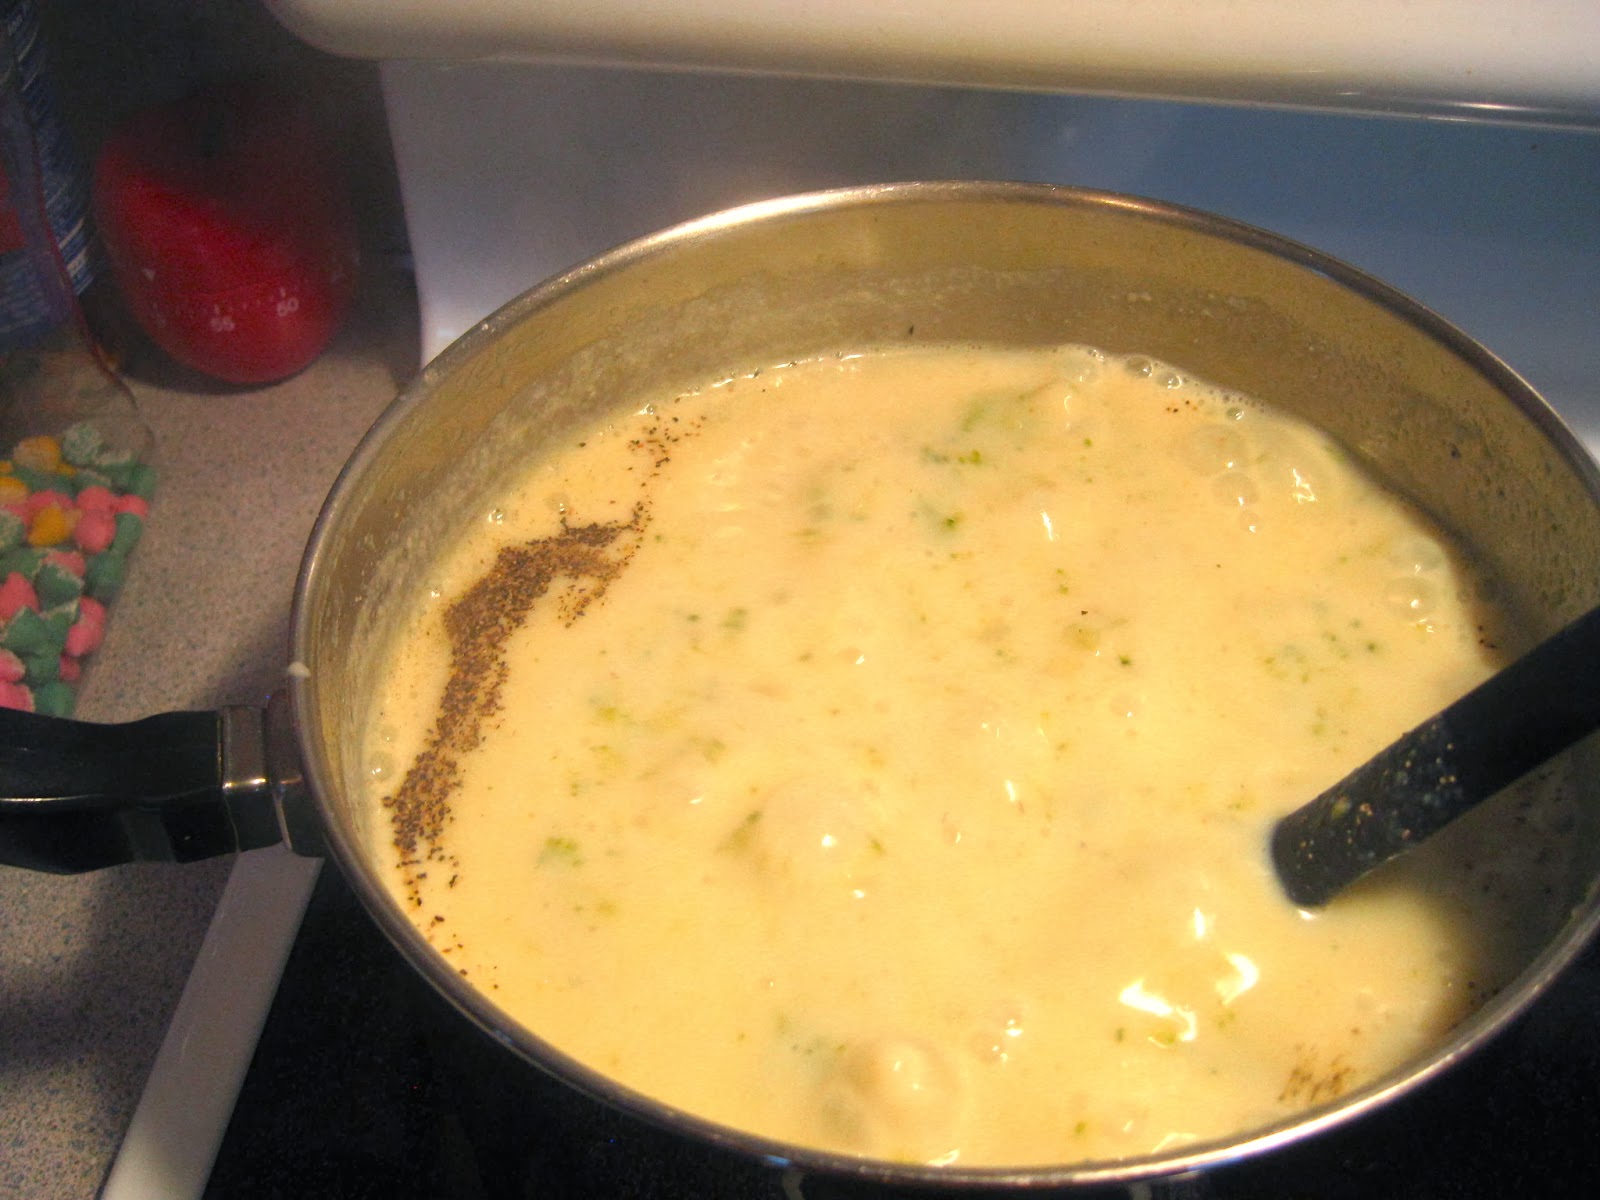
     Combine milk and flour, stirring with a whisk until well blended.  Actually use a whisk, a spoon won't cut it!  Add milk mixture to broccoli mixture.  Cook 5 minutes or until slightly thick, stirring constantly.  Getting an arm workout in woot woot! :)


     Stir in pepper.  Remove from heat and add cheese cubes, stirring until cheese melts.  I switched stirring arms at this point, gotta work them both out!! ;)


not sure why this looks so weirdly colored, it's really not...
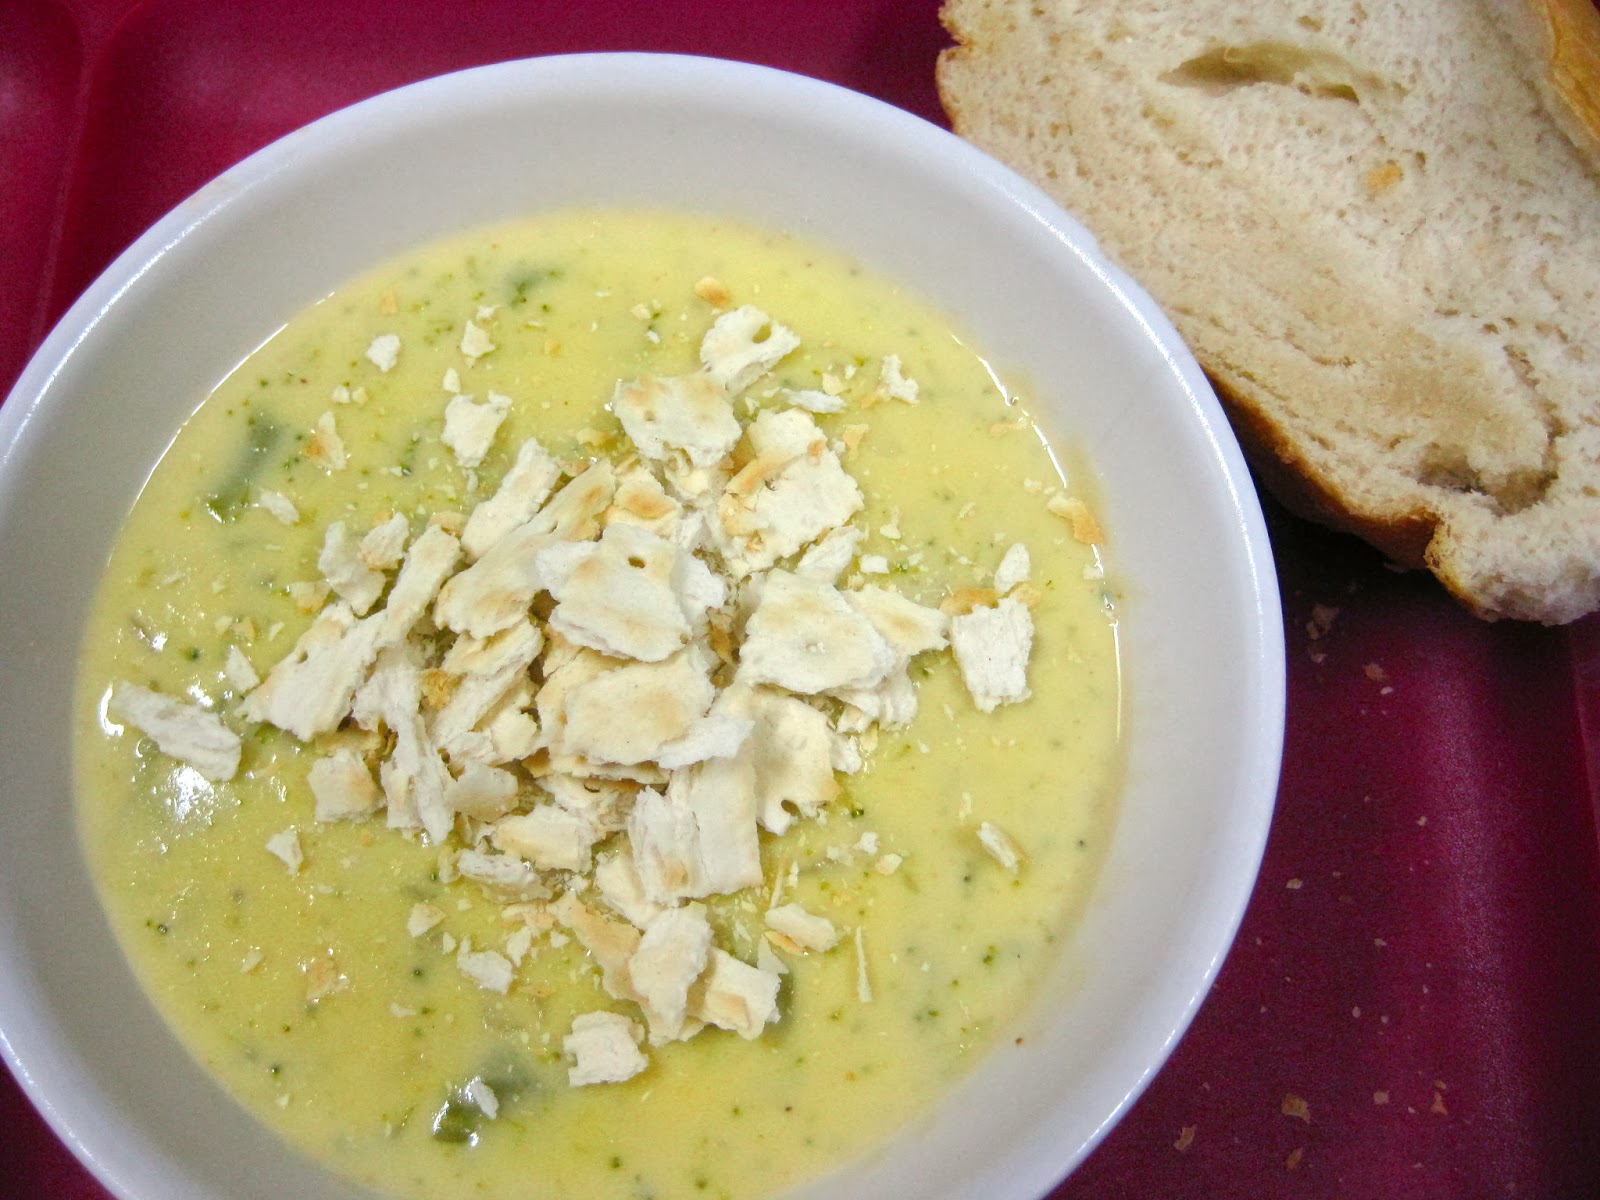
     Look at that cheesy goodness!! Yum :)  I love cheese, love it.  This soup is delicious. D. E. Licious.  Really.  I served mine with homemade bread, because as my great-grandma would say, "a meal's not complete unless there is bread and butter".  Mmmmm.

don't mind the squished down pieces...my 22 year old brother is a child


     I hope you enjoy!!!


Happy cooking friends!
     -Katie


Sunday, March 16, 2014

Single Serve Chocolate Chip Cookie


     Today I had a craving for a warm, gooey, delicious chocolate chip cookie.  Unfortunately, there were no chocolate chip cookies to be found.  Insert sad-faced Katie.  I paced my kitchen trying to decide if it was worth it to make a whole batch of cookies for me to eat just one.  Nope, not worth it.  Back to the movie I was watching.
     But.
     That nagging craving for a cookie wouldn't go away.  So back to the kitchen I went and I started pulling ingredients out of the cupboard.  A little dash of this, a scoop of that, a couple drops of whatever that was in the bottle, a minute in the microwave, and TADA chocolate chip cookie in a cup!!  Delicious!  

mmmmmm nice and fluffy

     I'm telling you folks, it was so good I scraped the bottom of the cup as clean as I could.  Seriously.  You know how the bottles of A1 steak sauce always talk about how people do all kinds of crazy things to get the last drop?  I was almost one of those (probably nonexistent) people.  My cookie in a cup was so good.  Melty chocolate and a warm cookie, just for me?  Yes please :)


     Lucky for you, I have a very good memory when it comes to cooking and baking.   Not a whole lot else sticks in my pretty little head, but recipes, they're always bouncing around in there.
     What I used for my cookie in a cup:

1 Tbsp oleo, softened
1 Tbsp brown sugar
1 Tbsp sugar
tiny bit of salt
1 egg yolk
a couple drops of vanilla
1/4 cup flour
chocolate chips

     Just mix everything all together in your cup and pop it in the microwave for about a minute.  Mine went for 50 seconds and was perfect!


Happy baking friends!
     -Katie


Workout Tank Top With Bows


     First, I would like to apologize for the crappy picture.  I was freezing cold and didn't want to take my warm and comfy sweatshirt off to model this tank top...sorry bout that haha  it really is cute though, promise.  And super easy!
     All you have to do is follow these simple directions and you'll end out with a workout tank top cute enough that you'll want to workout just so you can wear it ;)
     Cut the collar off, it doesn't have to be precise, you'll come back and cut more from here later.


     Next cut one of the sleeves off.  When cutting, curve near the bottom of the sleeve, but straighten out the cut as you go up or you'll have a funky lookin shirt.


     I wanted the sleeves to match so I took the one I had cut off and lined it up on the other sleeve and cut them to match.


     Then I trimmed the bottom seam off of the shirt because I was going to wrap it around the back like a lot of people do with their diy workout shirts.  Of course, I changed my mind AFTER I had cut it off...silly me.  If you want to go that route, by all means cut the bottom off.  I'm saving mine in case I decide I want to change it later.  Slightly indecisive huh?  Anyway, next you'll want to trim your collar a bit more, until you get the neckline like you want it.  Nothing particular you have to do, just until you like the way it looks.


     You can kind of see that my neckline is a bit lower than I started it with, but I didn't go too crazy.  Unlike my sister in this picture:

what a goofball!

     On the back I didn't quite like how it laid when I pulled the sleeves together, so I trimmed more off the back of the shirt by the sleeves.


     Then I folded the edges in until I would be able to wrap the fabric around it for a bow (or three...I made a few more than planned).


     Remember those sleeves you cut off?  Now you're gonna want to snip some strips of fabric from them for the bow(s).


     Just tie the bows around the back and you're almost done.


     I wanted to make sure the bows stayed on in the wash so I whipped out a few stitches to hook them to the shirt to finish it off.  All done! :)


Happy crafting friends!
     -Katie


Sunday, March 9, 2014

Easy Chocolate Covered Pretzels


     I'm going to put this out there: I have a sweet tooth.  A major sweet tooth.  Whew, feels good to admit it! ;)  But, there is nothing I love better than eating a sweet treat with a salty one.  Chocolate covered pretzels hit both of those with one shot!  And they're super simple!

What you'll need:
waxed paper
a jelly roll pan
chocolate
sprinkles
pretzel rods

     That's it!!  Nice and easy right?

     Okay here's what you need to do.  Line your jelly roll pan or cookie sheet with wax paper.  I used a jelly roll pan so the sprinkles wouldn't end up all over the kitchen.  Then I pressed my fingernail along the edges so the wax paper lay flat.


     Now melt your chocolate.  I melted mine in the microwave.  Whenever I melt chocolate in the microwave I start with one minute and then continue melting at 30 second intervals, stirring after each time.  I do it this way so that I don't burn the chocolate by melting it too fast.  Make sure there are no lumps in the chocolate so it's nice and smooth to cover your pretzels with.  While I was melting the chocolate, I broke my pretzel rods in half.  The full size ones are just too big to dip well.  And if you happen to eat more than one, or two (or three) of them, you won't feel quite as guilty as you would if they were whole ;)


     Once my chocolate was all melted, it was time to start dipping the pretzels.  I put the broken off edge in to chocolate and then used a spoon to spread it up the sides of the pretzel.  Try not to get too crazy with your chocolate spreading or you'll have it all over your fingers...not that I have experience at that at all...

dip the tip into the chocolate so it gets covered

use your spoon to spread the chocolate

finished pretzel, nicely coated in chocolate-y goodness :)
     Next, lay your pretzel out on the waxed paper.  I covered a few of them before I put sprinkles on them.  I did use two different types of sprinkles and one was a bit larger than the other.  For the smaller sprinkles, I only did about four pretzels before I put sprinkles on them, but with the larger ones I did six or seven and then only put sprinkles on the first four.  The larger sprinkles slide the chocolate off the pretzels a bit.  Not super noticeable, but it would have driven me crazy!

Sprinkles!! :)


Small sprinkles
Large sprinkles


     I made two jelly roll pans full of pretzels and the first pan was mostly set by the time I was done with the second, so they don't take too long to set.
     If you're using the same kind of chocolate I did, it's 24 ounces of chocolate and will get you about 6 dozen (half-sized) pretzels.  I did have lots of pretzels left over though, which is fine by me, I love pretzels :)

Leftover pretzels


     See that tiny little pretzel on the left in the middle-ish?  That's what my family (and coworkers if we're being honest) would call a Katie sized one.  I'm short. Like barely over 5 foot short.  Let the short jokes commence :)
Yum!!!

This is called a whoops moment...sprinkles come out quickly...beware.


Happy baking friends!
    -Katie