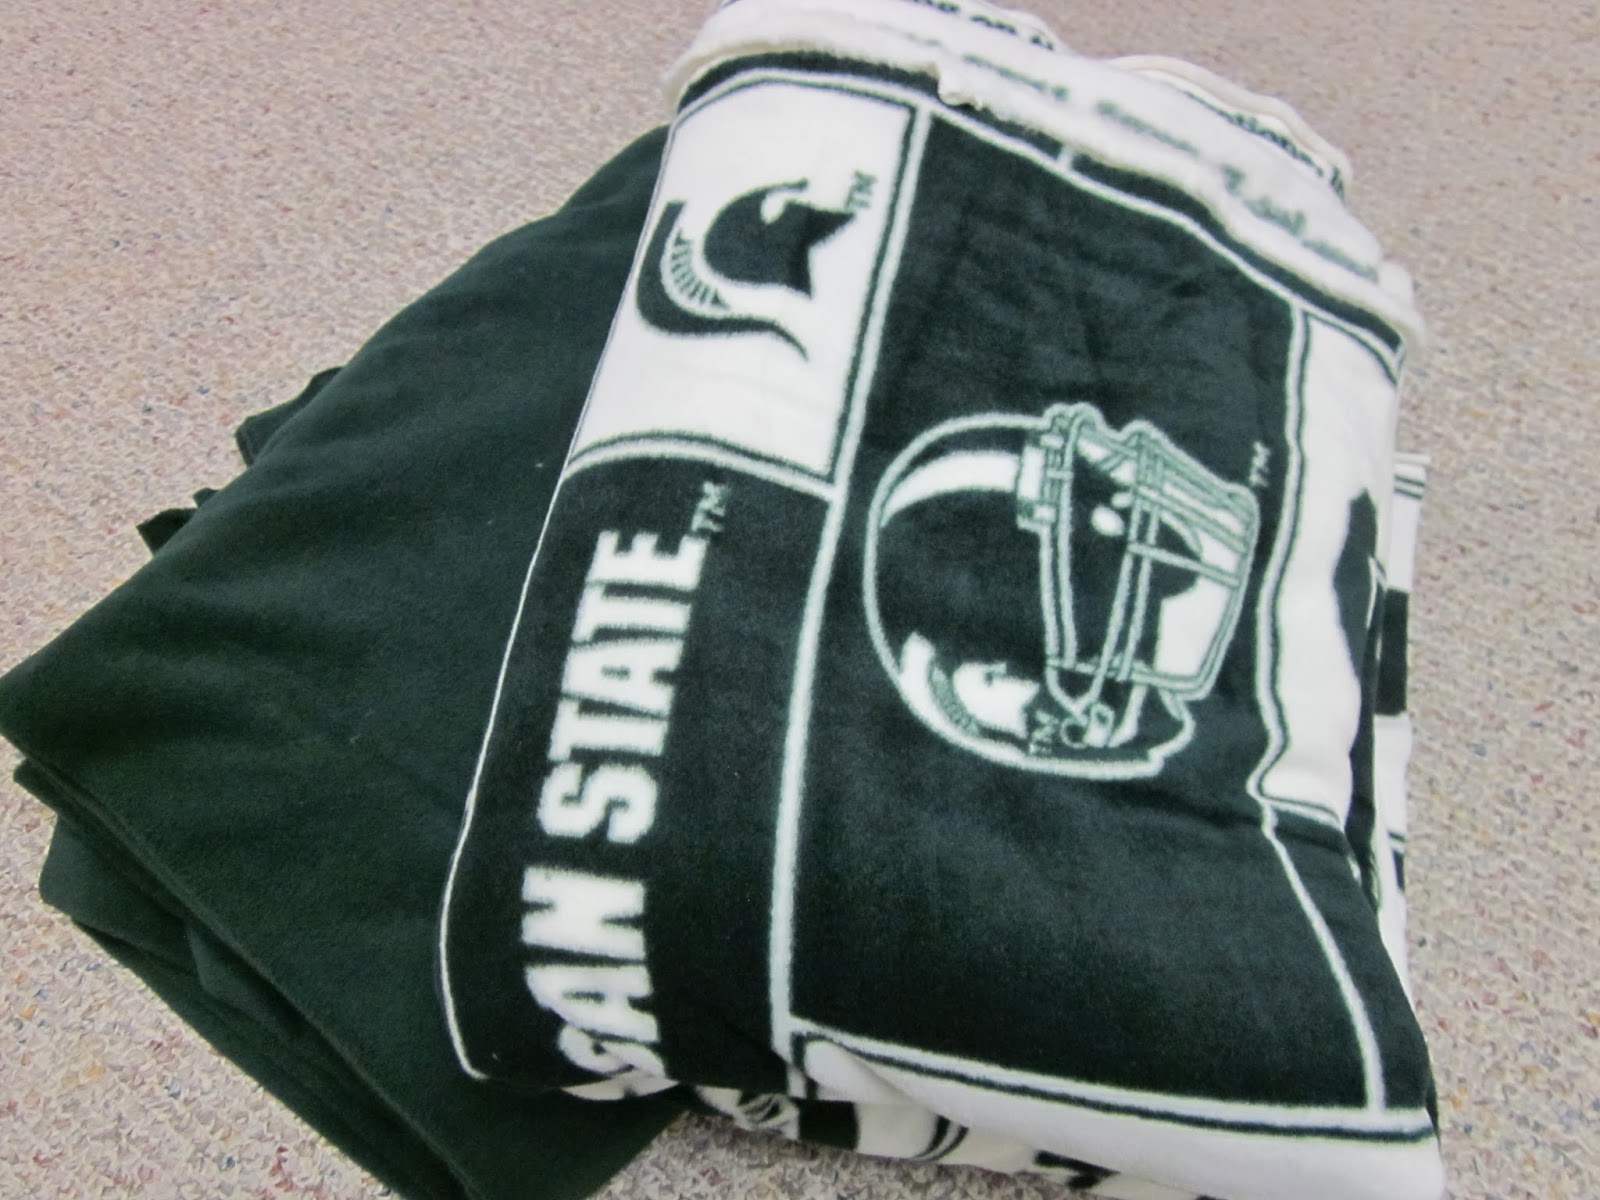
It took me ages to come up with a gift for my boyfriend for Valentine's day. Ages and ages. Finally I decided on a blanket, and since he's an MSU fan (Go Spartans!!) I of course went with a green and white MSU blanket. So I headed on over to Field's Fabric and came home with this (and possibly a few other things...it's kind of like a toy store to me haha):
I set to work cutting off the weird little edges that the fleece always has. Since the green and white is an official college print, it had extra writing on the edge that needed to be trimmed as well:
That was the fastest part of the whole project. When I was done I had a pile that looked like this:
I set that to the side to save for later and laid my green fabric out with the right side facing down. Next I took the MSU printed fabric and laid it on top of the green with the right side facing up. Using my trusty (and very pointy and sharp today) pins, I pinned those suckers together around the edges. Because I knew how long I wanted the ties to be on the edges, I placed the pins 2 inches in on each side (Yes, I did measure them. Every. Single. One.) I can be awfully particular about things I'm making, so this really isn't necessary, you can just eyeball them.
**Sidenote: if I were making another one, I would make the cuts larger than two inches for easier tying at the end**
When the last pin had been stuck in my pinky and then the fabric, I was left with a bit of an overhang. Apparently the last person to cut this fleece wasn't very keen on straight lines. I just snipped off the excess so that it lined up with the other fleece piece.
For the ties, I was going to do a particular width. Then I realized that would drive me insane. There were like a gazillion ties to cut. No freaking way was I measuring them all. I decided to wing it. Definitely not a me sort of thing to do. I cut my 2 inch gashes in the fabric all along the sides. When I reached a corner, I just cut a square out like so:
After I finished cutting all the ties, I was left with this:
To tie all of the little pieces would have been difficult to do without an anchor of some sort. What I did was tied a couple of them on each side before I removed the pins so they'd still be lined up after the pins were taken out. I just took all the pins out after I had tied a couple...well almost all. I managed to find the one I missed with the same pinky that got pricked earlier. Woohoo. After everything was tied, the blanket was finished! Super simple but a bit time consuming. It was hard to get a picture but you can sort of see how they're tied.
Now that my blanket was done, I moved on to the "ribbon" I wanted to keep it rolled up. The long pieces I had left over from earlier:
All I did was tie the two green pieces and the one white one together at one end. Then I twisted the green and white together and let the rope twist back on itself after I had tied off the other end. Now I have a twisted rope twice as thick as when I started. I just rolled the blanket up and tied it tight:
Happy crafting friends!
-Katie


No comments:
Post a Comment