Saturday, February 15, 2014

No Sew Fleece Blanket


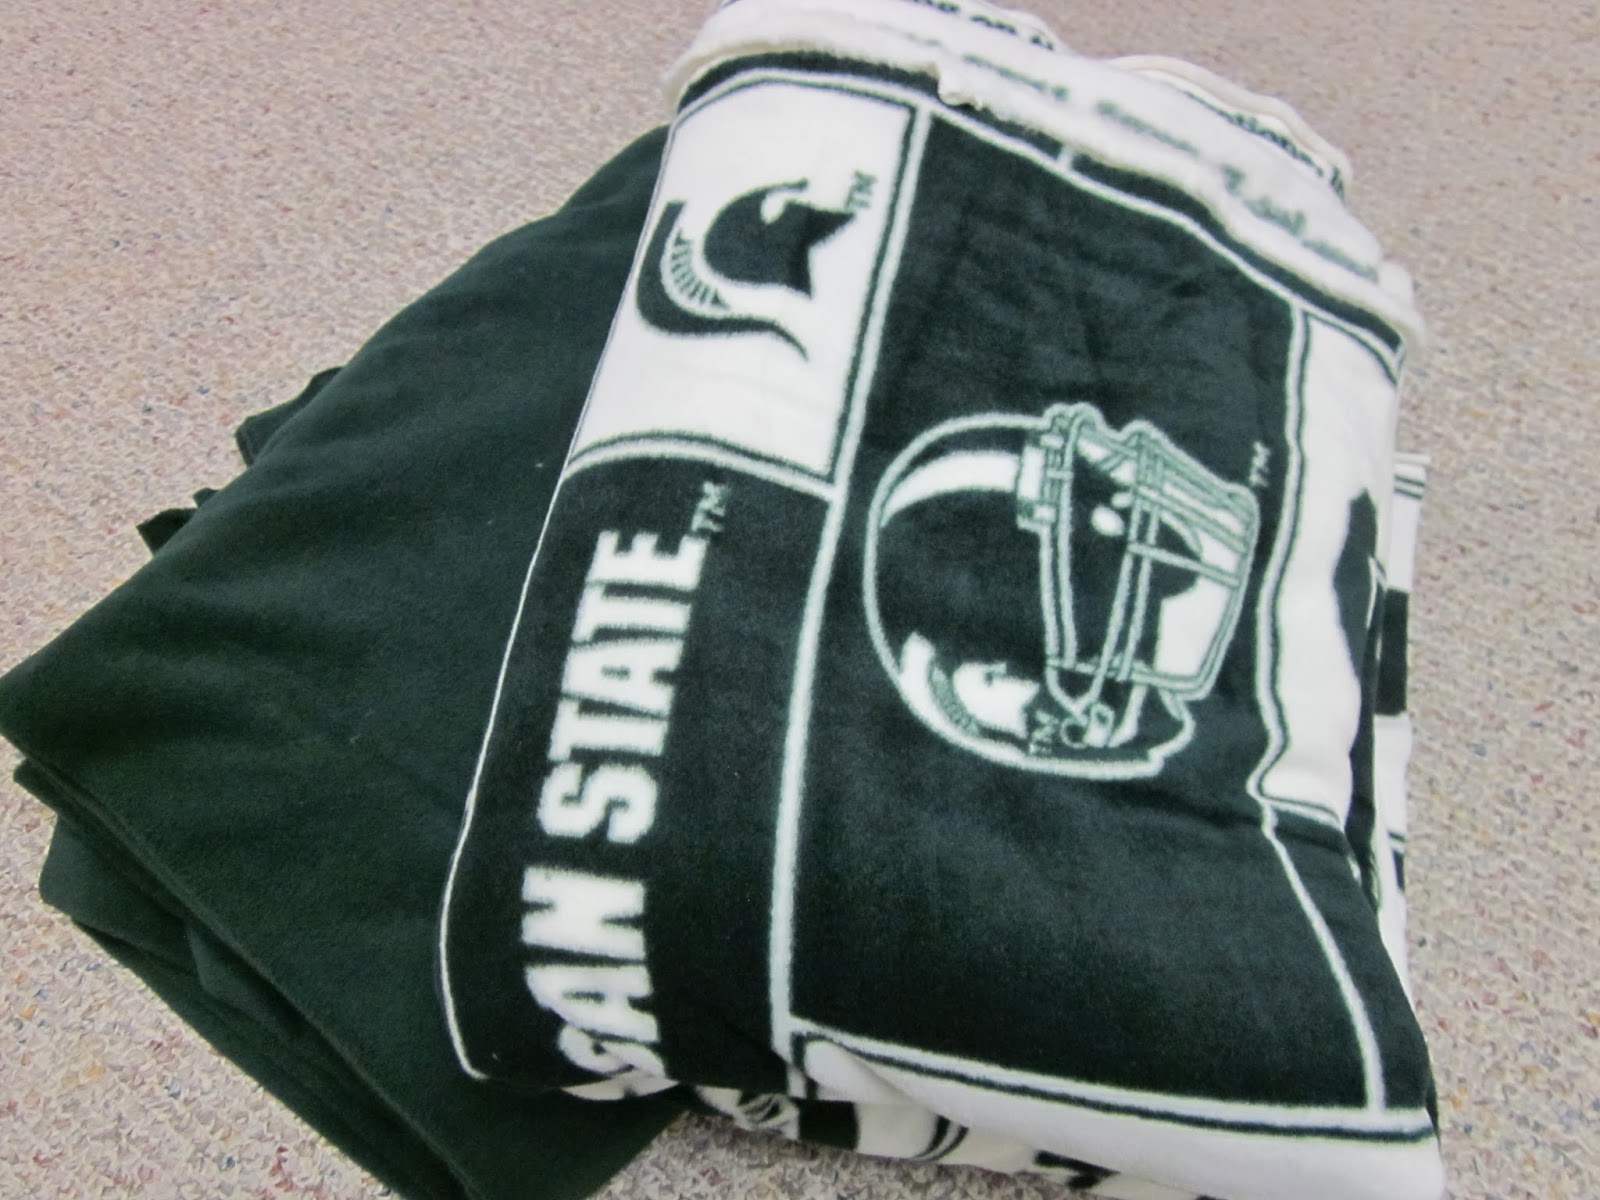
     It took me ages to come up with a gift for my boyfriend for Valentine's day.  Ages and ages.  Finally I decided on a blanket, and since he's an MSU fan (Go Spartans!!) I of course went with a green and white MSU blanket.  So I headed on over to Field's Fabric and came home with this (and possibly a few other things...it's kind of like a toy store to me haha):

  I  set to work cutting off the weird little edges that the fleece always has.  Since the green and white is an official college print, it had extra writing on the edge that needed to be trimmed as well:

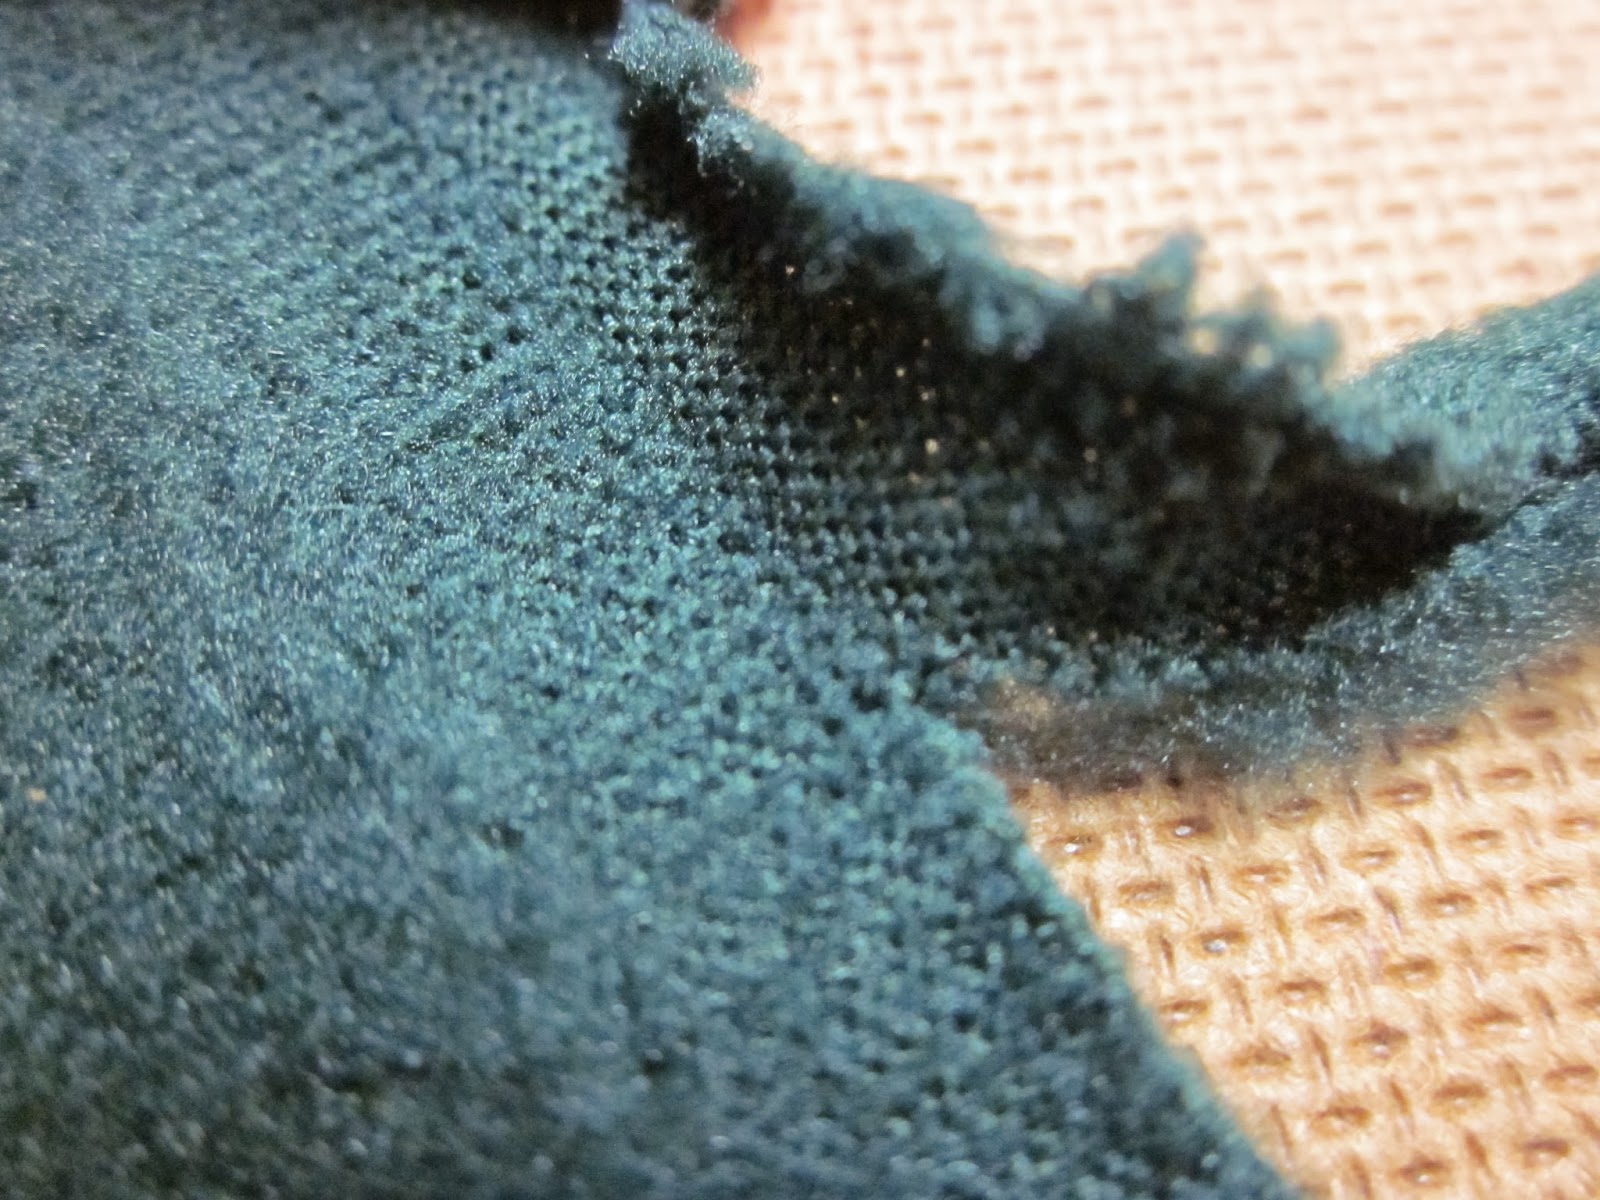

     That was the fastest part of the whole project.  When I was done I had a pile that looked like this:


     I set that to the side to save for later and laid my green fabric out with the right side facing down.  Next I took the MSU printed fabric and laid it on top of the green with the right side facing up.  Using my trusty (and very pointy and sharp today) pins, I pinned those suckers together around the edges.  Because I knew how long I wanted the ties to be on the edges, I placed the pins 2 inches in on each side (Yes, I did measure them.  Every.  Single.  One.)  I can be awfully particular about things I'm making, so this really isn't necessary, you can just eyeball them.
**Sidenote: if I were making another one, I would make the cuts larger than two inches for easier tying at the end**


     When the last pin had been stuck in my pinky and then the fabric, I was left with a bit of an overhang.  Apparently the last person to cut this fleece wasn't very keen on straight lines.  I just snipped off the excess so that it lined up with the other fleece piece.


     For the ties, I was going to do a particular width.  Then I realized that would drive me insane.  There were like a gazillion ties to cut.  No freaking way was I measuring them all.  I decided to wing it.  Definitely not a me sort of thing to do.  I cut my 2 inch gashes in the fabric all along the sides.  When I reached a corner, I just cut a square out like so:


     After I finished cutting all the ties, I was left with this:


     To tie all of the little pieces would have been difficult to do without an anchor of some sort.  What I did was tied a couple of them on each side before I removed the pins so they'd still be lined up after the pins were taken out.  I just took all the pins out after I had tied a couple...well almost all.  I managed to find the one I missed with the same pinky that got pricked earlier.  Woohoo.  After everything was tied, the blanket was finished!  Super simple but a bit time consuming.  It was hard to get a picture but you can sort of see how they're tied.


     Now that my blanket was done, I moved on to the "ribbon" I wanted to keep it rolled up.  The long pieces I had left over from earlier:


All I did was tie the two green pieces and the one white one together at one end.  Then I twisted the green and white together and let the rope twist back on itself after I had tied off the other end.  Now I have a twisted rope twice as thick as when I started.  I just rolled the blanket up and tied it tight:


Happy crafting friends!
    -Katie


Sunday, February 9, 2014

Menu Board


     Anyone who knows me knows that I am EXTREMELY indecisive when it comes to deciding on something to eat.  Extremely.  So I came up with a solution to the problem.  A menu board.  My cousin made one and I really liked how it turned out so I thought I'd give it a shot and gathered all my supplies:


     Well, almost all my supplies.  I made a few more trips up and down the stairs to get a hot glue gun and two empty crayon boxes.  First I glued my scrapbook sheet of paper onto the foam board I had leftover from another project.  I let that sit overnight to dry:


     I weighed it down with a few things, and as you can see, our family enjoys candles :)  My favorite is this one:


It's apple cinnamon and smells wonderful!!  These candles have a cool story behind them too, you can check it out here.  After letting the board dry, I folded the edges of the paper over and taped them to the back of the board:


This is the front at this point:


     I then figured out where I wanted my ribbon on the board and made a small mark on the back/edge to line it up to.  I taped the ribbon down as well:


     Next I got out some brown scrapbook paper (sticking with the neutral color theme) and covered my crayon boxes.  I added a bit of ribbon to them as well to jazz it up a bit.  Just seemed too boring without anything on them :)

     I lined them up where I wanted them on the board as you can see in the picture above and secured them to the board with packing tape as well.
     Then I set to work on my clothespins to hold the menu choices on the ribbon.  I was going to just hot glue them to the board, but it was pointed out to me that the clothespins might rip off if pressed too hard.  So on the ribbon it is!  I cut 7 rectangular pieces of brown scrapbook paper and 14 small squares of white paper:


     On each strip of brown paper I marked where I wanted the white squares to go.  I used two squares for each clip and I turned the top square so that its corners were on each side of the bottom square.  I found these really cute stickers to put the days of the week on the papers (it would have driven me nuts if I wrote them when the menu choices are typed up...odd duck I know).


I put the stickers on each of the white pieces and they turned out like this:


Using some glue, I attached the white pieces to the brown rectangles and then the brown rectangles to the clothes pins:


     I decided that I needed some way to hang my board up without putting a hole in my pretty little project (or the walls), so I used a hot glue gun to make a bow out of some ribbon.  Cue the impatient wait for it to dry.  I attached it to the back of my board.  And then took it off.  And reattached it.  Over and over again until it was (to my mind) perfect.  I may be a slight perfectionist.  Maybe.


     Now all that's left is to put the cute little clothes pins on the ribbon and add my menu options I've already made up:


Tada!!!  Here it is hung up on a command hook in our kitchen:


Happy crafting friends!
    -Katie


Quiet Book Long-neck Dinosaur Page


     For this page, I forgot to take pictures, but basically I just did the same thing that I did for the football page.  I traced my patterns onto newspaper, then pinned the newspaper patterns onto the felt like this:

     After pinning all the patterns to the felt, I cut the shapes out and stitched them all onto my background piece (the light blue felt).  The leaves were stitched on, I kind of just kept making more until the tree looked full enough, and left small gaps for three removable leaves.  I attached the removable leaves with small snaps.  When I stitched the dinosaur on, I left a gap in the front of its tummy so that it can 'eat' the leaves :)  And that's all there is to it!
     Now that the first two pages are done, I'll sew them together and add holes for the rings to go through to keep all the pages of the book together.  More on that later.


Happy sewing friends!
     -Katie


Thursday, February 6, 2014

Quiet Book Football Page


      Lately I've been seeing quiet books all over Pinterest and I decided that I really wanted to try making one.  Now I'm not amazing at sewing by any means, but I thought I'd give it a go.  There were gazillions of different designs I wanted to make, but I decided to start with a simple football.  I figured if I could handle this it'd be a bit of a confidence booster :)
     I started with making my pattern.  It's possible that I went a little crazy and made all of the patterns I needed...for all of the pages...before I even decided to make the book.  Anyhow, I made my pattern for the football page and then traced it on newspaper like my best friend (who is actually very good at sewing!) does with all of her patterns.  I then pinned the newspaper pattern to the brown and white felt sheets like so:


     After pinning the pattern, I cut out the shapes I needed.  Definitely not a huge fan of cutting felt.  Once all the pieces were cut out, I placed them all together like I wanted them and pinned them down.  Pins, pins, and more pins! :)


     After everything was where I wanted it, I got out my trusty sewing machine and hooked those buggers down to the green background.  Once all the pieces were hooked down I added laces to the football with a large needle.  I just threaded a piece of yarn on my needle and weaved it in and out of the white trapezoid pieces in the center.  My final (ish) product looks like this:


     I'm still considering stitching on some words about tying the laces with embroidery thread.  I haven't quite decided if I'm going to or what it will say yet...we'll see.  It was definitely a confidence booster that I managed to finish this without stabbing myself in the finger with a pin or sewing anything on backwards :)
     The next page is going to be a long-neck dinosaur eating leaves, which will be posted tomorrow!


Happy sewing friends!
    -Katie